Adding an Actian DataConnect Connection
Prerequisites
- Scanner Version 76 or higher is required to use DataConnect Connector.
- Java 11 is required to run and build the DataConnect Connector.
- It is assumed that the Zeenea Scanner has been successfully downloaded and configured. See Zeenea Scanner Setup.
Creating the Configuration File
-
In the
[scanner_install_dir]/connectionsfolder, create a new file nameddcconnector.conf. (The file can be named as desired, but the file extension must be.conf.) -
Copy and modify the content below based on your environment configuration:
# code and name can be anything
code = "actian-dataconnect-connector-id"
name = "actian-dataconnect-connector-name"

# Connector ID (do not change)
connector_id = "actian-dataconnect"
enabled = true

# directories to be scanned (comma separated)
scan_directories = "/path/to/maps/one,/path/to/maps/two" -
List one of more directories you want scanned in the
scan_directoriesproperty. It is comma-separated. The connector will only focus on.mapand.map.rtcfiles. Other files and folders will be ignored.
Installing the Plugin
You can download the plugin here: Zeenea Connector Downloads.
For more information on how to install a plugin, please refer to the following article: Installing and Configuring Connectors as a Plugin.
Verifying the Connection
- Restart Zeenea Scanner.
- In Zeenea Administration, click Connections and verify that the new connection is listed.
- If you encounter any issues, review the scanner.log file located in the
[scanner_install_dir]/logsfolder for troubleshooting guidance. Also refer to Troubleshooting for Scanners and Connections.
Viewing the Dataset
-
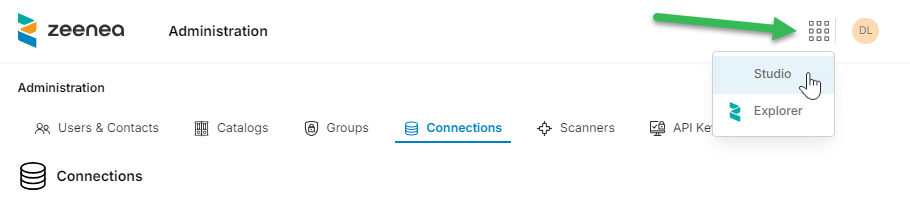
Switch to Zeenea Studio by clicking the apps icon in the upper right and selecting Studio:
-
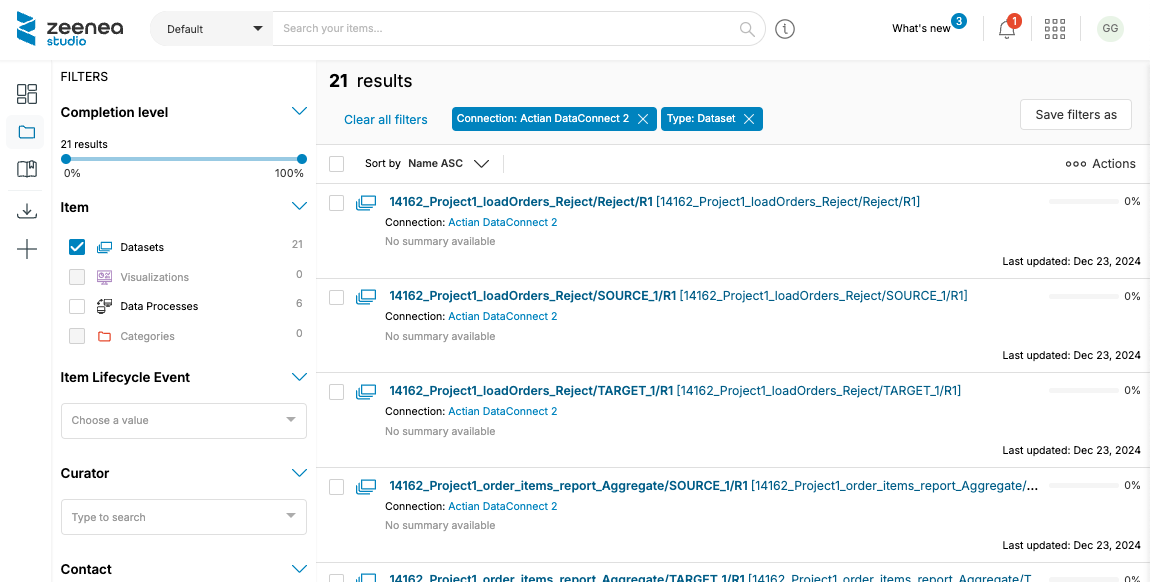
In Zeenea Studio, click Catalog to view the scanned map files:
Manually Syncing the Connection
-
In Zeenea Administration, click Connections, then click the ellipsis button in the Actions column for your connection and click Synchronize:
