Adding an Actian Ingres Connection
Prerequisites
- The current Scanner version requires Java 11. Either OpenJDK or Oracle JDK can be installed.
- It is assumed that the Zeenea Scanner has been successfully downloaded and configured. See Zeenea Scanner Setup.
Installing the Generic JDBC Connector Plugin
- Download the Generic JDBC connector plugin from Zeenea Connector Downloads, or download directly at https://plugins.zeenea.app/jdbc-connector-plugin/jdbc-connector-plugin-74.zip.
- Move the zip file to the
[scanner_install_dir]/pluginsfolder. Do not unzip the archive.
Installing Ingres Drivers
- Download the Actian Ingres driver zip file from Actian ESD. Select Actian Ingres & Actian Vector Drivers in the PRODUCT dropdown and select JDBC in the RELEASE dropdown.
- Extract the Actian Ingres driver
iijdbc.jarto the[scanner_install_dir]/lib-extfolder.
Creating the Configuration File
-
In the
[scanner_install_dir]/connectionsfolder, create a new file namedingres.conf. (The file can be named as desired, but the file extension must be.conf.) -
Copy and modify the content below based on your environment configuration, replacing
<HOST-NAME>,<USER>, and<PASSWORD>with the appropriate values for your environment.# Customizable values for code and name
code = "ingres-connector-code"
name = "ingres-connector-name"
# Connector ID (do not change)
connector_id = "generic-jdbc"
enabled = true
connection {
# JDBC URL to connect to the Ingres database
url = "jdbc:ingres://<HOST-NAME>:27839/db;encryption=on;"
jdbc_driver_name = "com.ingres.jdbc.IngresDriver"
# Authentication details (modify as per environment)
# Default password is an empty string
username = "<USER>"
password = "<PASSWORD>"
}
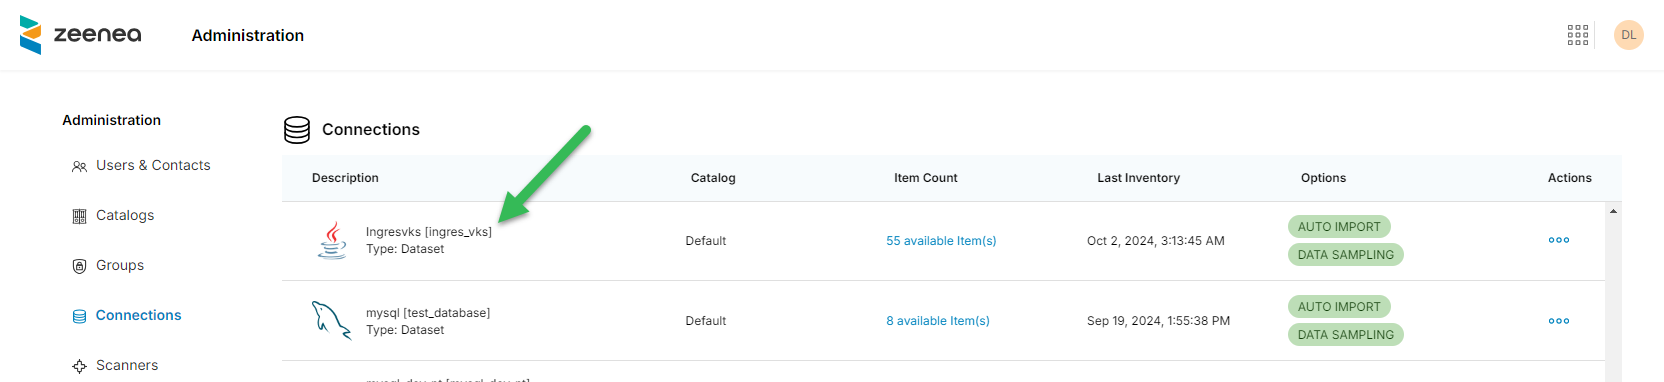
Verifying the Connection
-
Restart Zeenea Scanner.
-
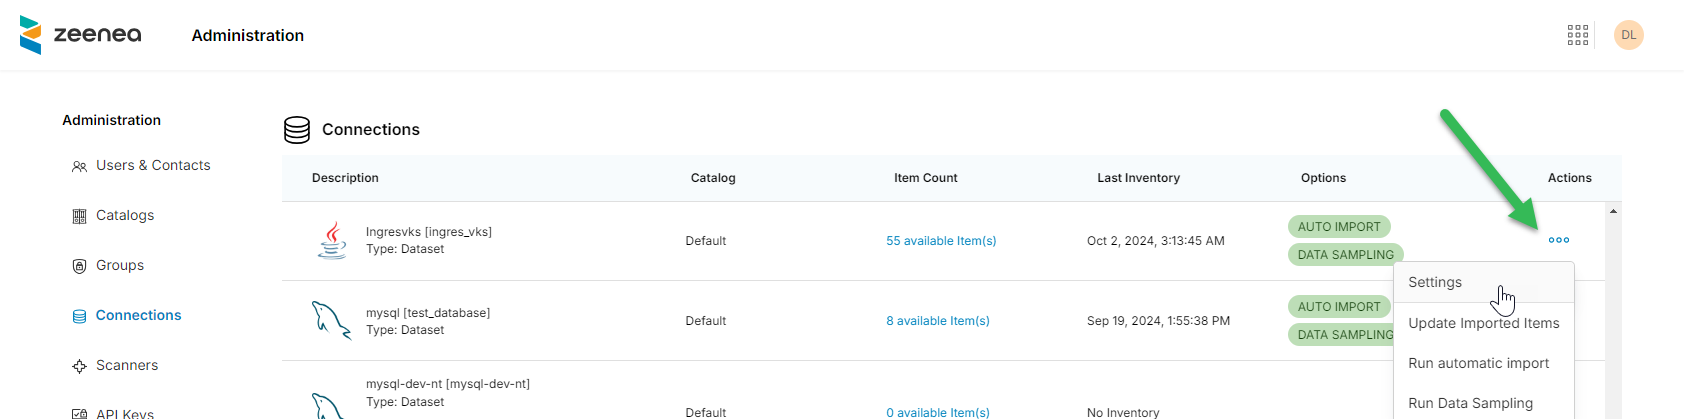
In Zeenea Administration, click Connections and verify that the new connection is listed:
-
If you encounter any issues, review the scanner.log file located in the
[scanner_install_dir]/logsfolder for troubleshooting guidance. Also refer to Troubleshooting for Scanners and Connections.
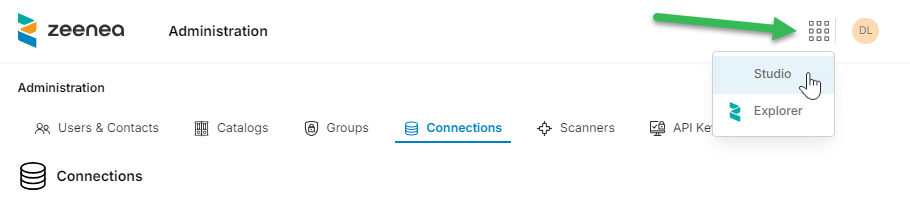
Viewing the Dataset
-
Switch to Zeenea Studio by clicking the apps icon in the upper right and selecting Studio:
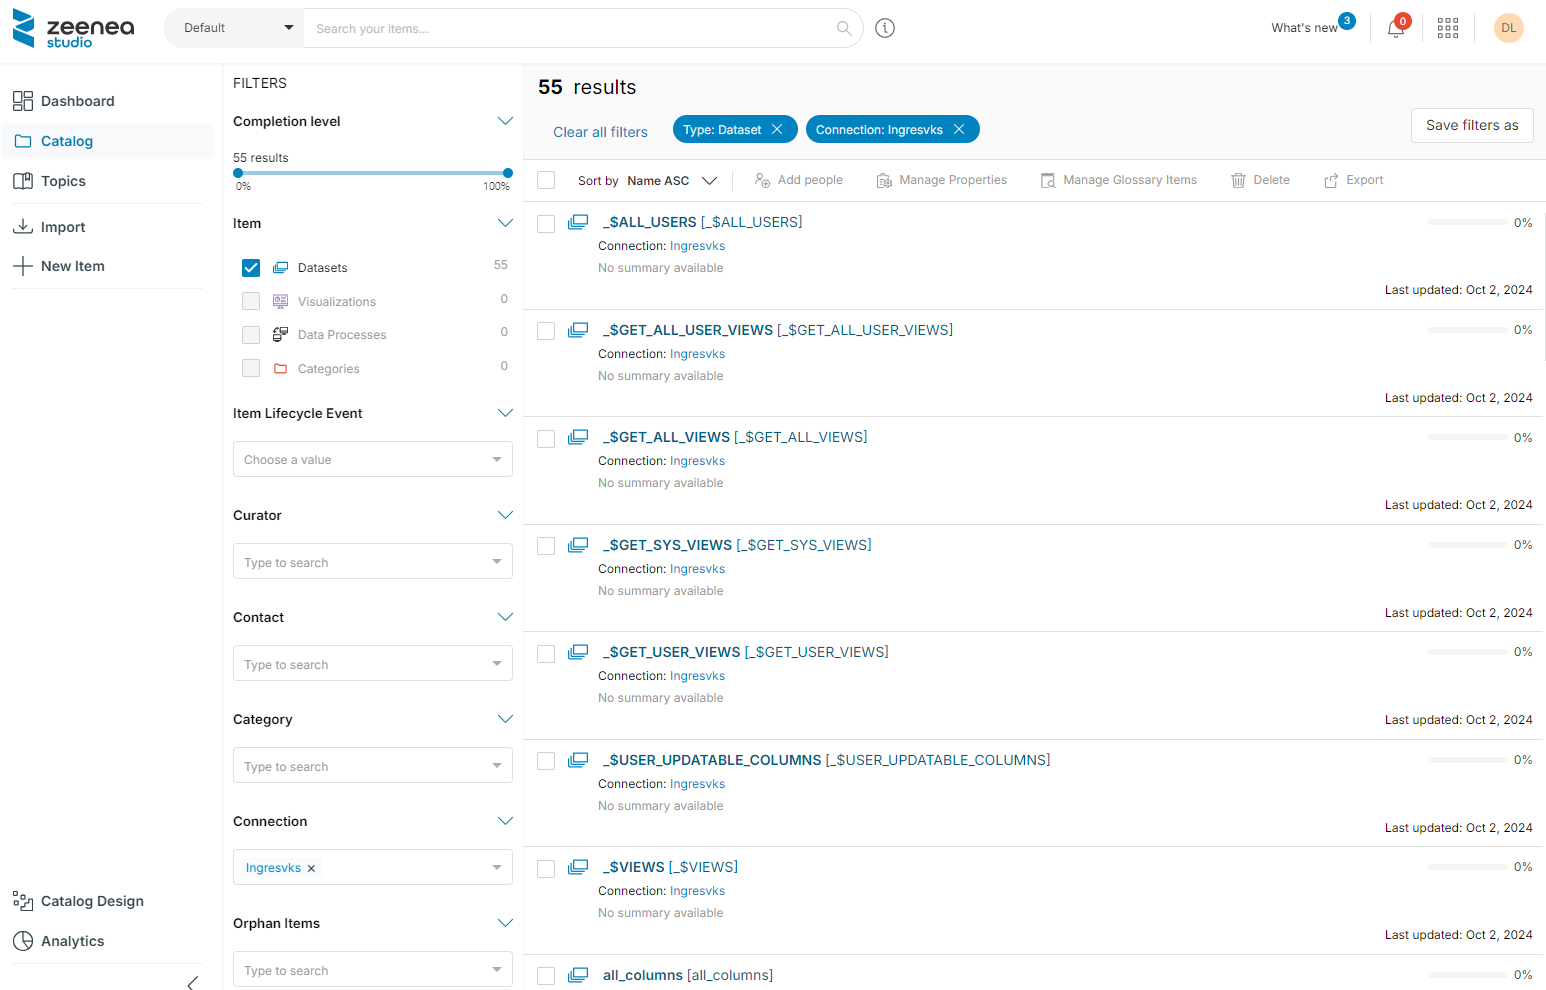
-
In Zeenea Studio, click Catalog to view the tables from your Actian Ingres schema:
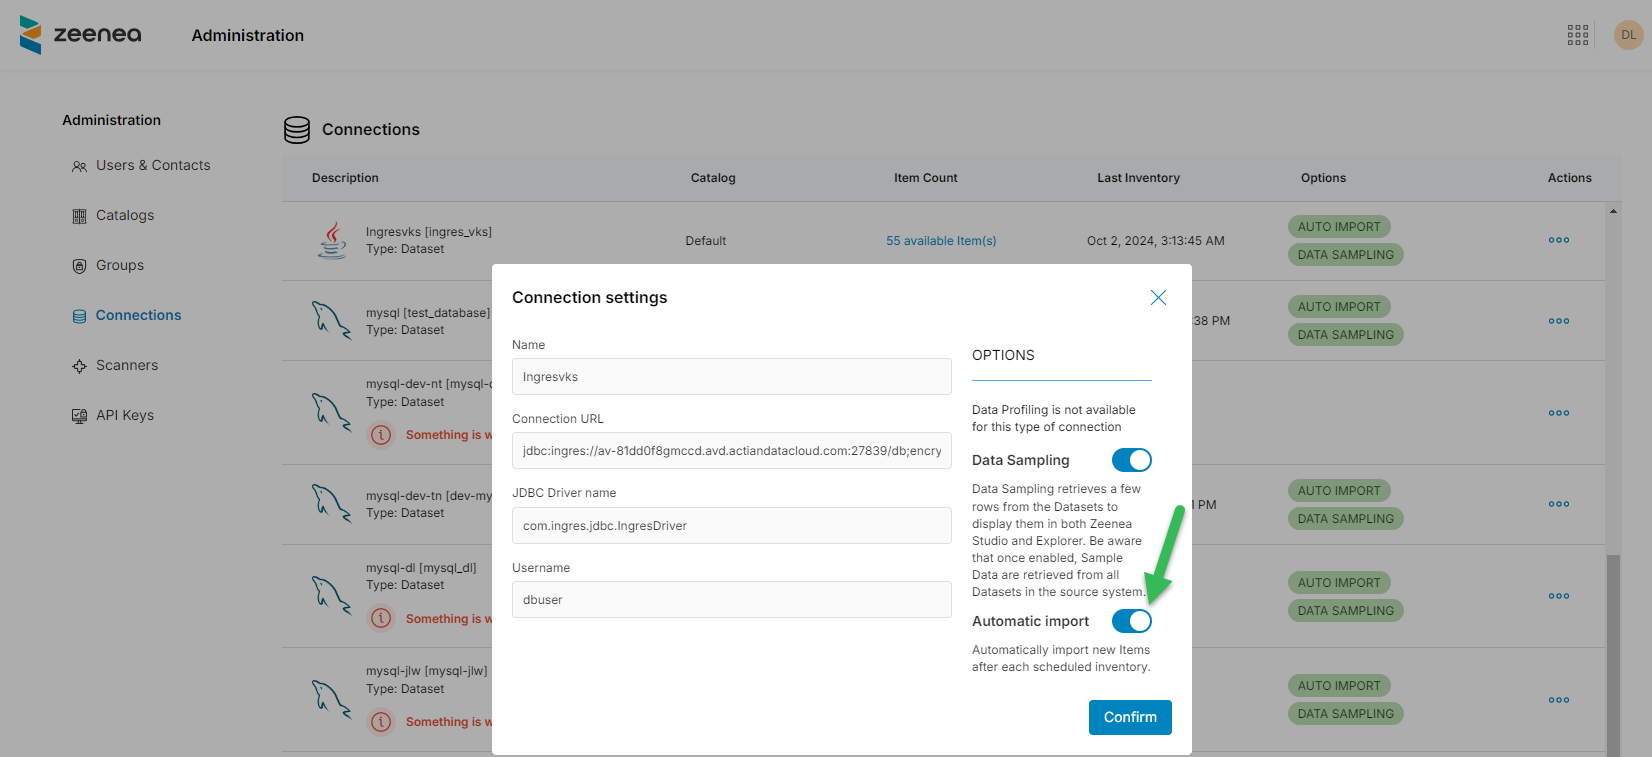
Configuring the Connection for Automatic Import
If desired, you can configure a connection to automatically import data as follows:
-
In Zeenea Administration, click Connections, then click the ellipsis button in the Actions column for your connection:
-
Toggle Automatic import on: